Products Lineup
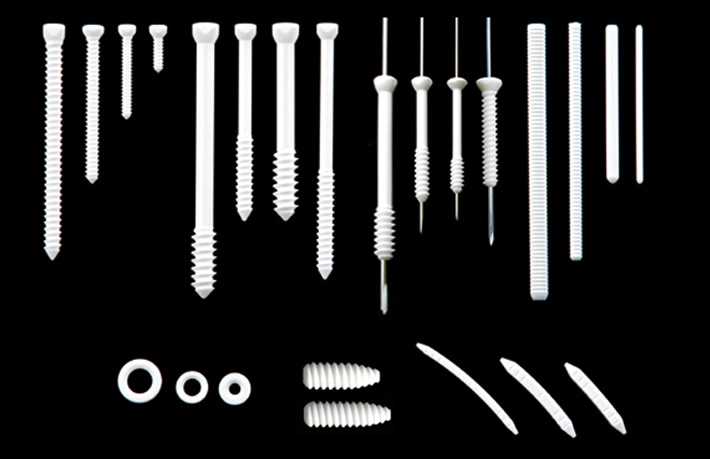
1. Screw
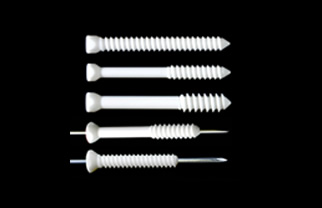
The screw is available for cortical, cancellous and malleolar bones. The diameter of the thread and the length are in the range of 2.7–6.5 mm and 12–90 mm, respectively.
2. Pin
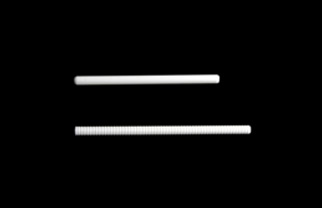
The pin has two different kinds of surfaces—smooth-type and threaded-type. The diameter and length are in the range of 1.5–4.5 mm and 40–70 mm, respectively.
3. Washer
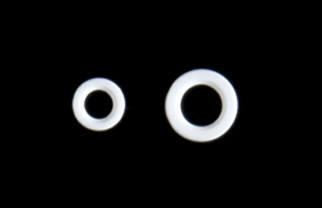
The washer is available for all types of screw. The outer diameter and thickness are in the range of 8–11 mm and 1.2–2.0 mm, respectively.
4. Interference Screw

The interference screw is cannulated and headless. The diameter and length are in the range of 6–10 mm and 20–30 mm, respectively.
5. Rib/Sternum Pin
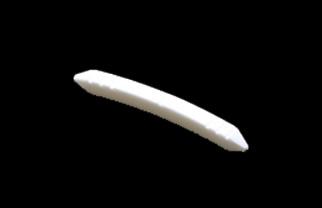
The rib/sternum pin is curved to fit the shape of the bone. The thickness and length are in the range of 2.0–3.0 mm and 20–40 mm, respectively.
Procedures
The OSTEOTRANS-OT System can generally be used in the same way as metallic osteosynthesis devices, however, its mechanical strength is inferior to metallic, therefore, caution should be exercised to avoid unreasonable force. Please use the custom-made surgical instruments (drill bit, tap, screwdriver, and countersink) which matches to the type and size of the product. As the screws are not designed for self-tapping, therefore tapping is required before insertion. The screw should be inserted only after thoroughly cleaning the hole after tapping.
To avoid screw head damage, insert the screw with the screwdriver, with downward axial-loading applied.
Specific procedures (Surgical techniques)
How to insert screws
- 1.Drilling: Drill a guide hole of suitable depth with a custom-made drill bit after repositioning and temporarily securing the bone fragments.
- 2.Cleaning (irrigation/suction): Use suction to remove bone debris from the hole.
- 3.Tapping: Create an internal thread into the drilled hole to a suitable depth using a custom-made tap.
- 4.Cleaning (irrigation/suction): Use suction to remove bone debris from the hole after inserting the screw.
- 5.Insertion (fixation): Carefully insert the screw with a custom-made screwdriver to fix the bone fragments.
* To bury the head of the screws into the bone, a countersink would be useful
How to insert pins
- 1.Drilling: Drill a guide hole of suitable depth with a custom-made drill bit after repositioning and temporarily fixating the bone fragments.
- 2.Cleaning (irrigation/suction): Use suction to remove bone debris from the hole.
- 3.Insertion (fixation): Carefully insert the pin using a custom-made pin pusher to fix the bone fragments.

